How to install bower in Visual Studio
By Tan Lee Published on Jun 27, 2024 12.02K
To install Bower in Visual Studio 2017 or 2019, you typically need to follow these steps.
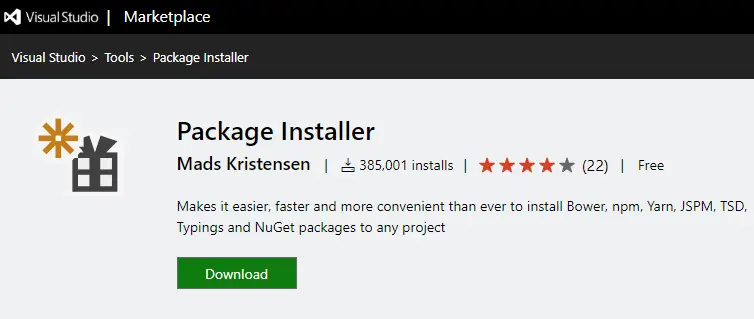
If you want to use bower in Visual Studio you need to download the "Package Installer", then install to your Visual Studio.
How to add bower in visual studio?
From your Visual Studio => Extensions => Manage Extensions.
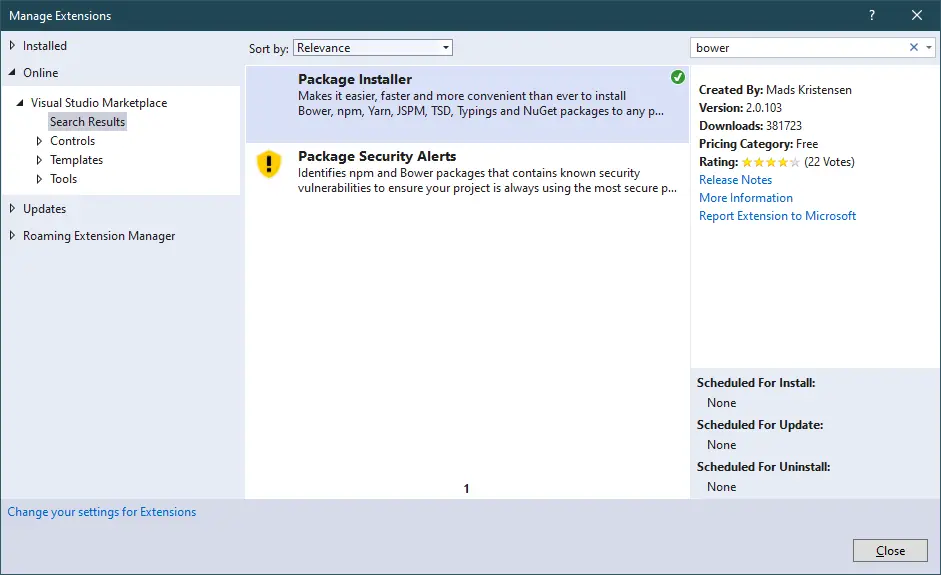
At the search box, you can enter "bower", then download and install the Package Installer for Visual Studio 2017, 2019.
This is an extension for Visual Studio that makes it easy and fast to install bower, npm, JSPM, TSD, Typings and NuGet packages.
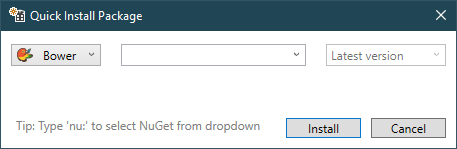
After you finish installing the Package Installer extension, you need to reopen your Visual Studio.
Right-clicking on your project, then select "Quick Install Package"
If you want to use bower to install packages, make sure your computer has nodejs installed.
Bower requires Node.js and npm (Node Package Manager) to be installed. If you haven't already installed Node.js, you can download it from nodejs.org and follow the installation instructions.
You can also install Bower globally using npm.
Open a terminal within Visual Studio, then enter
npm install -g bower
This command installs Bower globally on your system.
After installation, you can verify that Bower has been installed correctly by checking its version
bower --version
This command should print the version of Bower installed.
Visual Studio might have built-in support for Bower, depending on the version you're using and the installed extensions. If you're using Visual Studio 2017 or later, Bower support might be available through the individual extensions. You can check the Visual Studio Marketplace.
Categories
Popular Posts

Structured Data using FoxLearn.JsonLd
Jun 20, 2025

Implement security headers for an ASP.NET Core
Jun 24, 2025

10 Common Mistakes ASP.NET Developers Should Avoid
Dec 16, 2024

Modular Admin Template
Nov 14, 2024

Carpatin Admin Dashboard Template
Nov 15, 2024