How to publish ASP.NET website on Internet
By Tan Lee Published on Oct 06, 2019 6.37K
How deploy .NET MVC application?
The article provides a guide on how to publish a website using Visual Studio after completing the building process. It outlines the steps needed to deploy your website to any hosting provider, ensuring that it becomes accessible on the internet.
To publish your website, start by purchasing a domain name from a service like GoDaddy. Then, select a reputable hosting provider, such as A2 Hosting or InterServer, ensuring that they support Windows hosting if needed.
If you're developing your application with ASP.NET, it's essential to register for Windows hosting. Additionally, ensure that the hosting provider supports SQL Server.
Once you've registered your domain name and purchased hosting, log into the domain name administration section to configure the DNS settings to point to your hosting provider. Keep in mind that DNS settings may vary between different hosting providers.
How do I publish a Web application in Visual Studio 2017?
Right-click your project in the Solution Explorer and select Publish =>Click New Profile.
This opens the Publish Wizard. You’ll see several options for publishing.
- Azure: If you're publishing to Azure, select
Azureand follow the prompts to set up your App Service. - File System: If you’re deploying to a traditional web host, choose
FolderorFile System. Specify a local folder where the published files will be generated. - FTP: If you want to publish directly to your web host, select
FTPand enter your FTP credentials.
You can download the profile publish from CPanel Hosting, then import into your Visual Studio.
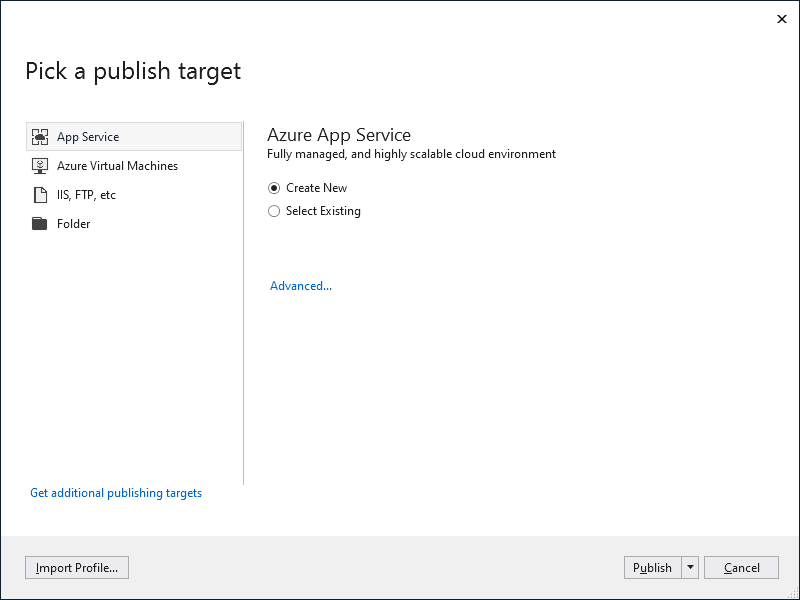
Click Publish. Visual Studio will compile your project and deploy it according to the settings you specified.
You can also select IIS, FTP, etc, then click Publish
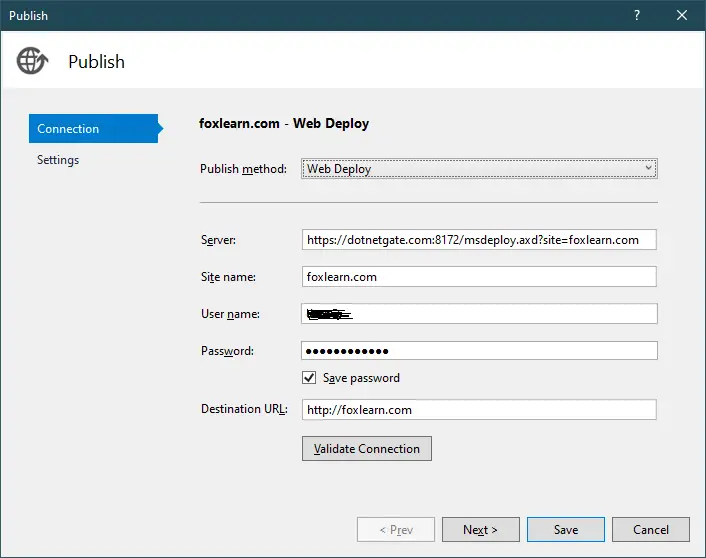
You need to enter hosting information, to publish your website to internet.
Note you need to create an FTP account to publish your website to hosting.
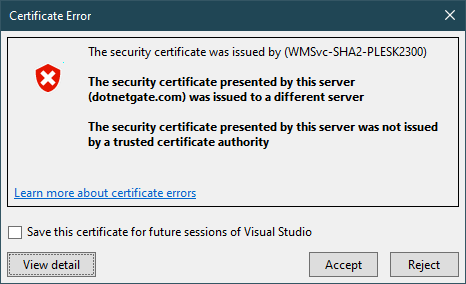
If you see the above dialog box, you should choose View detail
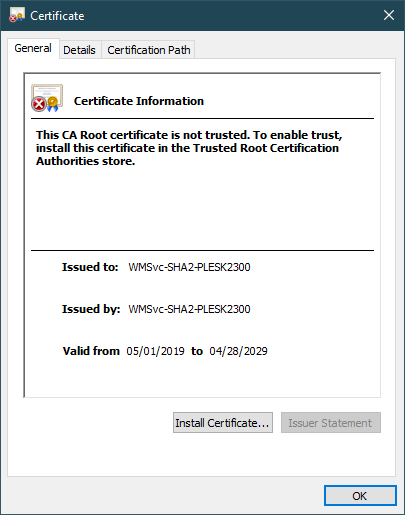
Click Install Certificate...
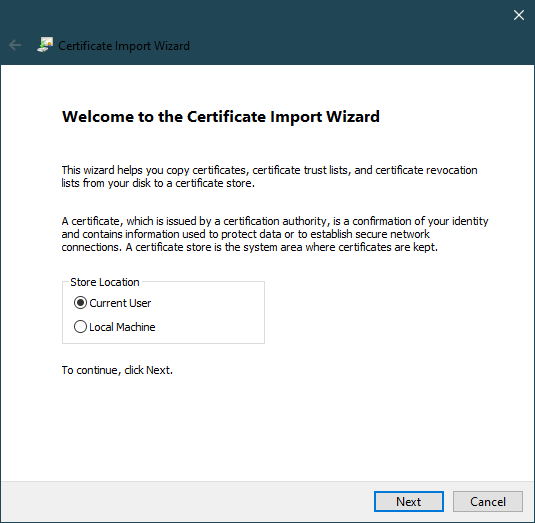
Click Next to continue
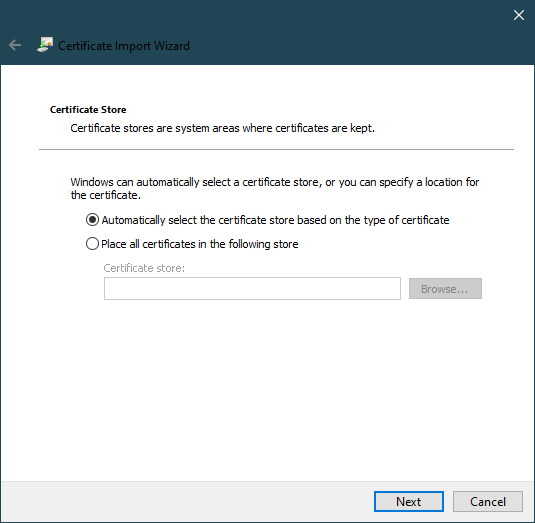
Click Next to continue
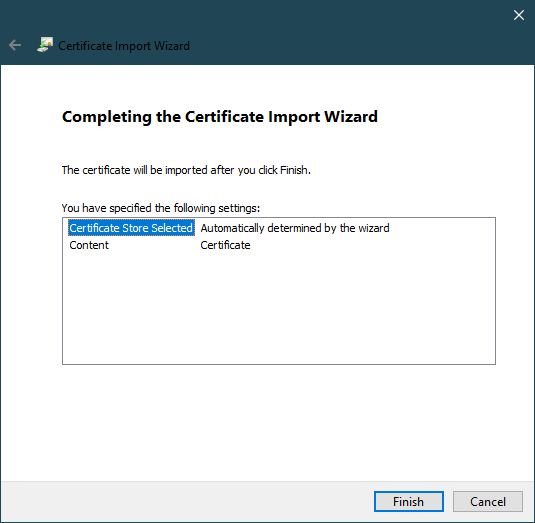
Click Finish

Click OK, then click Accept to publish your website to hosting.
If you published directly via FTP, Visual Studio will handle this for you as shown above.
If you published to a local folder, use an FTP client (like FileZilla) to transfer the files to your hosting server.
After deployment, navigate to your website's URL in a web browser to ensure everything is working correctly.
VIDEO TUTORIAL
- Implement security headers for an ASP.NET Core
- How to add security headers to an ASP.NET Core Application
- How to Initialize TagHelpers in ASP.NET Core with Shared Data
- Essential Tips for Securing Your ASP.NET Website
- Top Security Best Practices for ASP.NET
- Boost Your ASP.NET Core Website Performance with .NET Profiler
- The name 'Session' does not exist in the current context
- Implementing Two-Factor Authentication with Google Authenticator in ASP.NET Core


