How to use Wizard Control in C#
By Tan Lee Published on May 15, 2024 7.93K
To use a Wizard control in a C# Windows Forms Application using the AdvancedWizard library, you typically need to follow these steps.
Open your Visual Studio, then click New Project, then select Visual C# on the left, then Windows and then select Windows Forms Application. Name your project "Wizard" and then click OK button.
How to use Wizard control in C#
The AdvancedWizard control in C# is not a standard control provided by the .NET Framework. It's a third-party library.
First, you need to install the library that provides the AdvancedWizard control. This usually involves downloading a package from NuGet by right-clicking on your project select Manage NuGet Packages -> Search AdvancedWizard -> Install

Once you've installed the library, you should be able to find the AdvancedWizard control in the toolbox in Visual Studio.
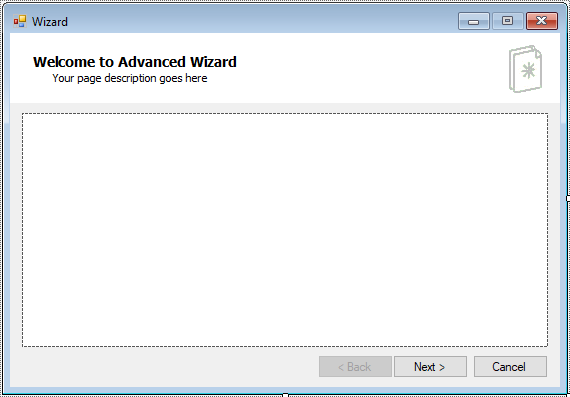
Drag and drop the control wizard from the Visual Toolbox onto your form, then you can design a simple UI as shown below.
You need to design the individual steps of your wizard. This might involve adding controls like text boxes, labels, or other input controls to each step.
The wizard control should provide events or methods for navigating between steps. You'll need to handle these events to move the user forward or backward through the wizard as they complete each step.
As the user progresses through the wizard, you'll need to collect and validate the data they input on each step. You can handle this in the event handlers for the navigation events.
Once the user has completed all the steps of the wizard, you'll need to process the final data they've entered. This might involve saving it to a database, performing some calculations, or any other actions specific to your application.
VIDEO TUTORIAL
Categories
Popular Posts

Structured Data using FoxLearn.JsonLd
Jun 20, 2025

Implement security headers for an ASP.NET Core
Jun 24, 2025


What Are RESTful Web Services?
Feb 19, 2024

Plus Admin Dashboard Template
Nov 18, 2024