Getting Started with ASP.NET Core 3.0
By Tan Lee Published on Nov 08, 2019 4.03K
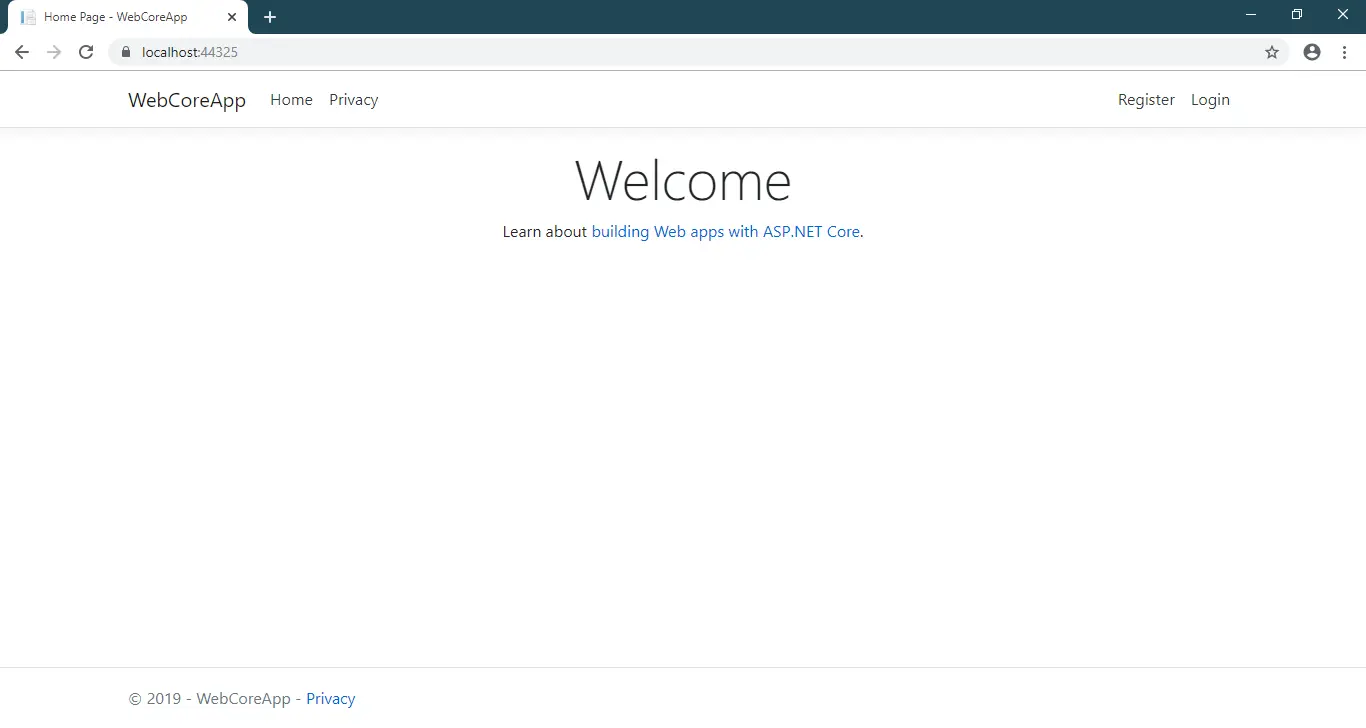
Creating an ASP.NET Core project in Visual Studio 2019 is a straightforward process.
Open Visual Studio 2019 from your Start menu or desktop shortcut, then click create new project => Select ASP.NET Core Web Application.
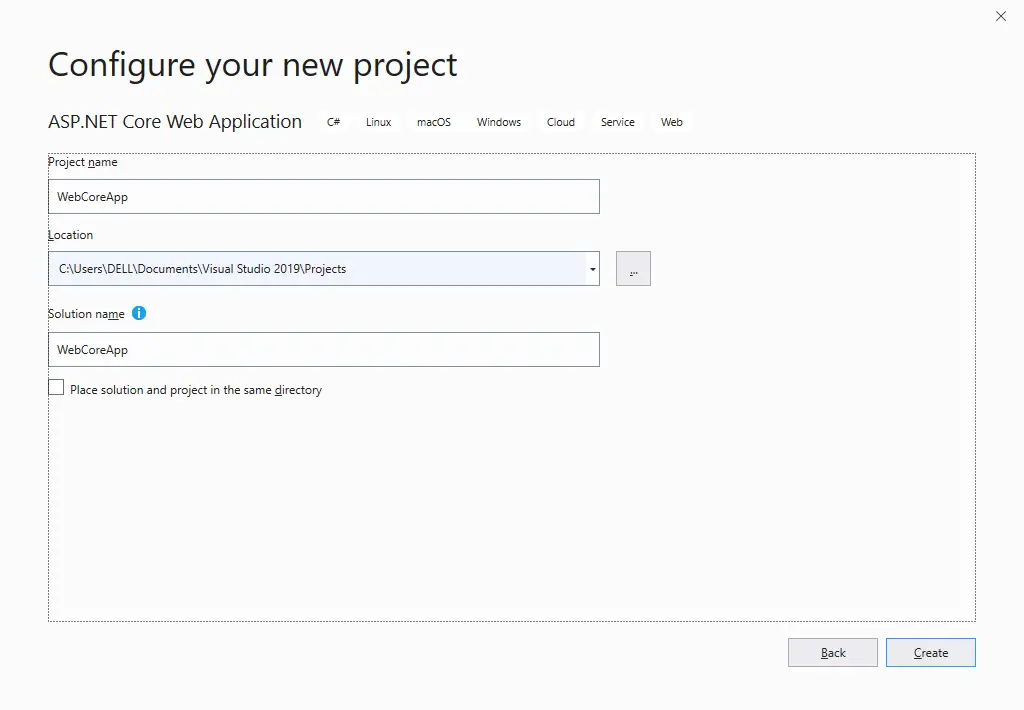
Entering your project name, then click Create button
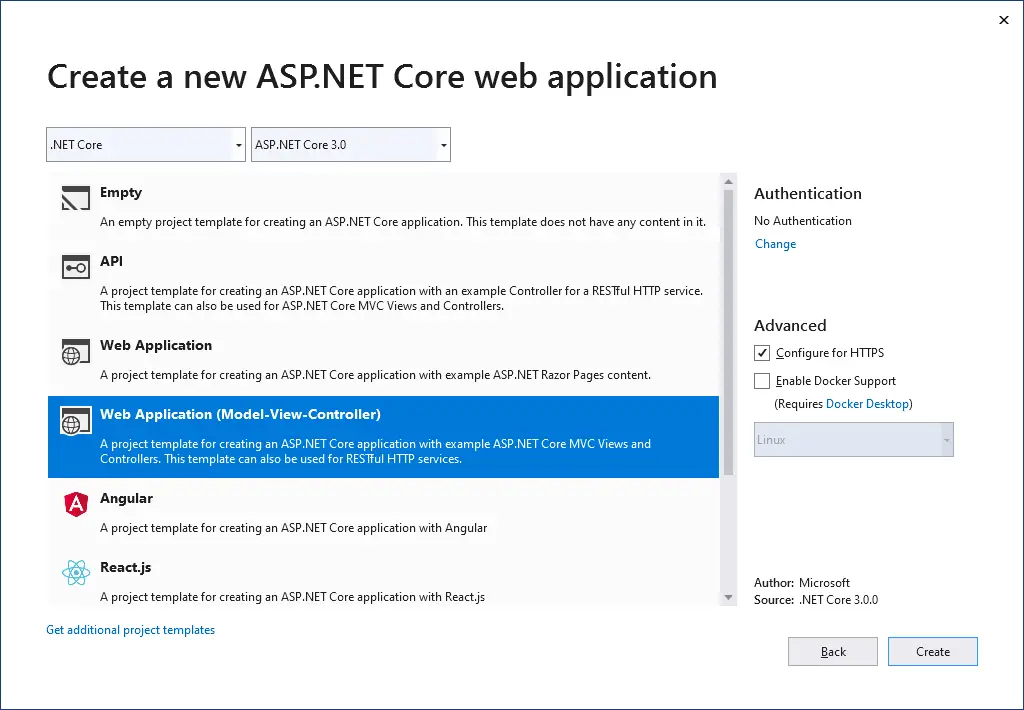
Selecting Web Application (Model-View-Controller), then click Change authentication
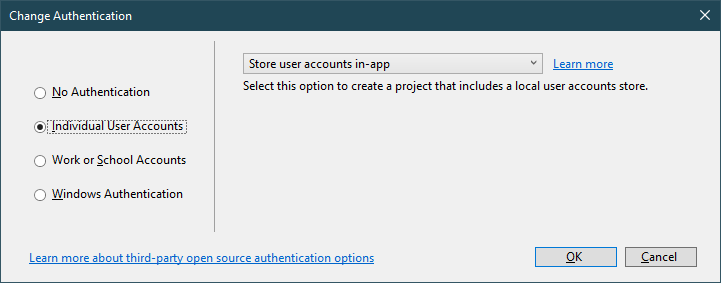
Selecting Individual User Accounts, then click OK button
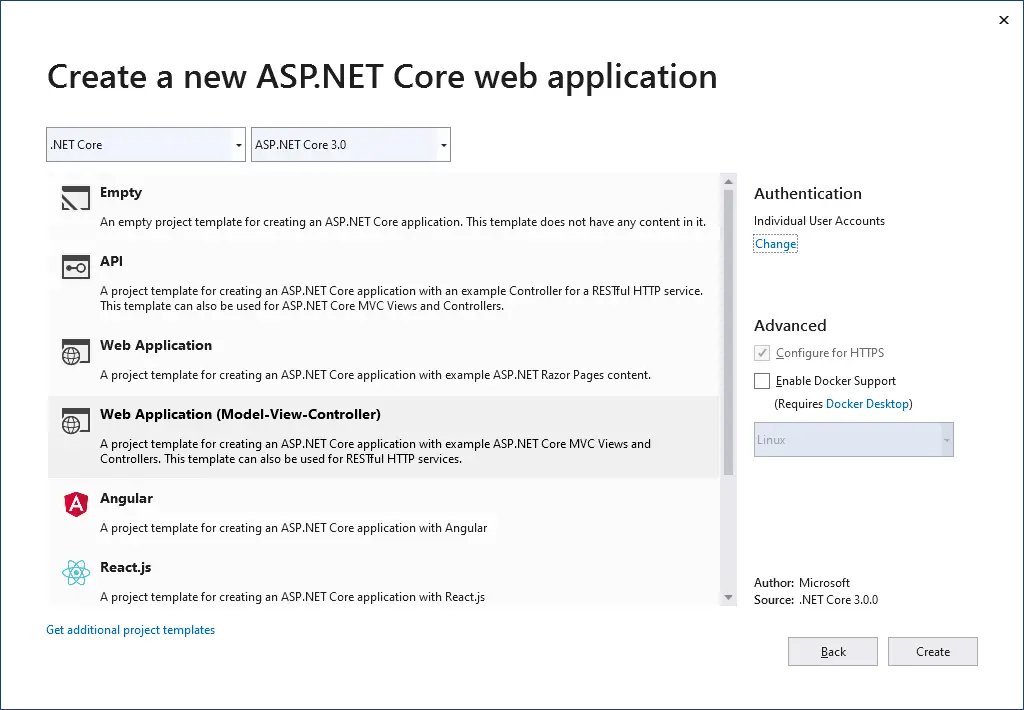
Next, Click Create button
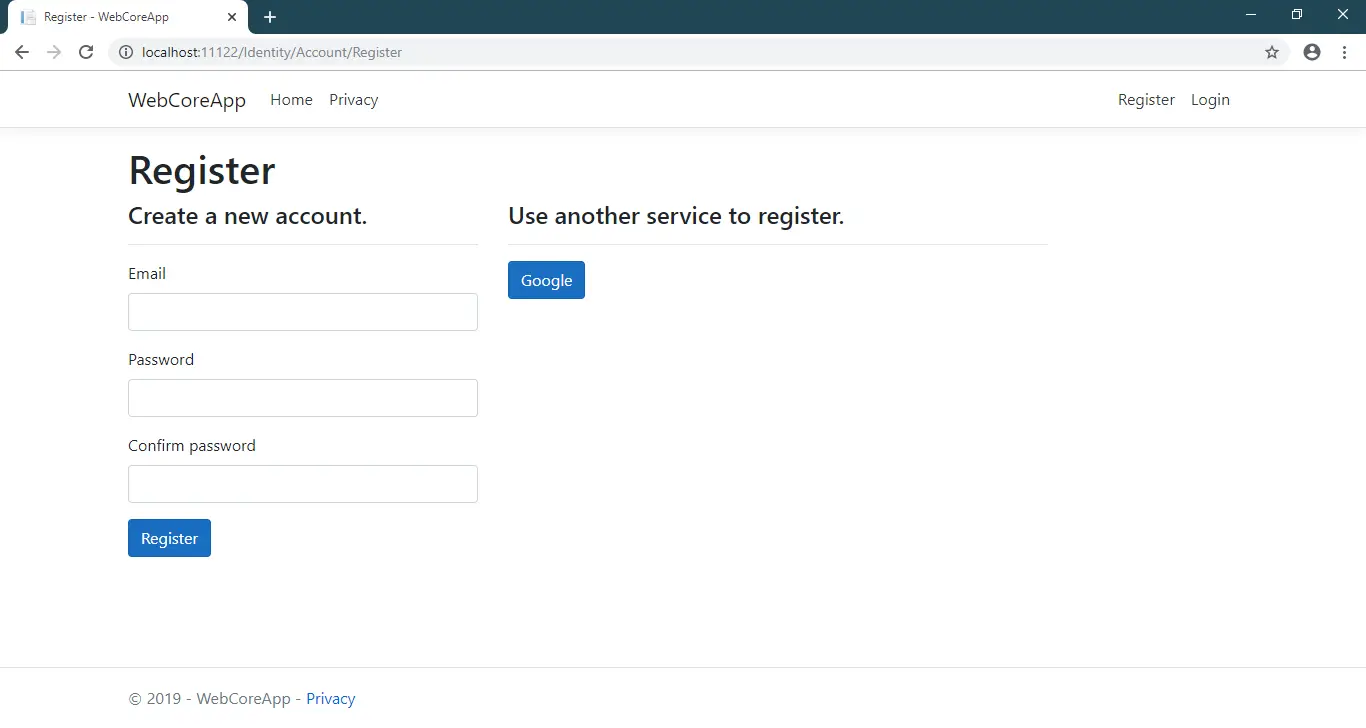
Press F5 to run your project, then click register link to create a new account.
 If you get an error "A database operation failed while processing the request" you should click the Apply Migrations button, then press F5 to refresh your page.
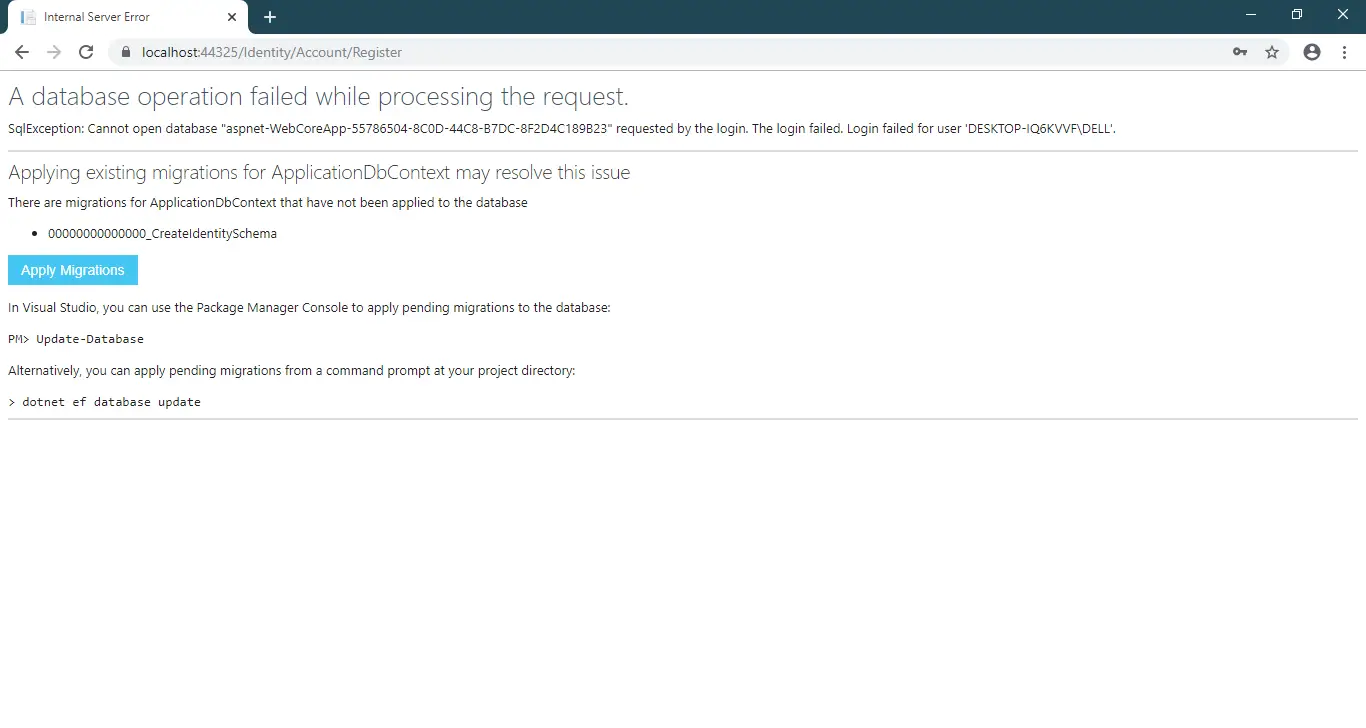
If you want to update your database, you can click Tool menu => Nuget Package Manager => Package Manager Console, then enter Update-Database
Finally, Enter dotnet ef database update to update modify to your database.
- Implement security headers for an ASP.NET Core
- How to add security headers to an ASP.NET Core Application
- How to Initialize TagHelpers in ASP.NET Core with Shared Data
- Boost Your ASP.NET Core Website Performance with .NET Profiler
- The name 'Session' does not exist in the current context
- Implementing Two-Factor Authentication with Google Authenticator in ASP.NET Core
- How to securely reverse-proxy ASP.NET Core
- How to Retrieve Client IP in ASP.NET Core Behind a Reverse Proxy
Categories
Popular Posts

Structured Data using FoxLearn.JsonLd
Jun 20, 2025

Implement security headers for an ASP.NET Core
Jun 24, 2025

Modular Admin Template
Nov 14, 2024

10 Common Mistakes ASP.NET Developers Should Avoid
Dec 16, 2024

Simple Responsive Login Page
Nov 11, 2024