Implementing Google Authentication in the Blazor WebAssembly App
By Tan Lee Published on Feb 11, 2025 599
In today’s web development landscape, security is of paramount importance. Ensuring users can safely access resources and data is crucial for any app. After our exploration of integrating Azure Active Directory (AAD) authentication in Blazor WebAssembly, we turn our attention to another popular method: Google authentication.
Google authentication provides users with a secure and familiar login experience, allowing them to authenticate using their Google account. This approach not only bolsters your app’s security but also makes the user experience smoother, as Google is widely trusted and used for web authentication.
Steps to Implement Google Authentication in Blazor WebAssembly App
Step 1: Generate Google Client ID and Secret
To begin, you’ll need to generate the credentials for Google authentication. This involves accessing the Google Developer Console, where you’ll create an OAuth 2.0 Client ID for your app.
- Navigate to the APIs & Services > Credentials section.
- Click on Create Credentials and select OAuth 2.0 Client IDs.
- Choose Web Application as the application type, and configure the details as required (e.g., Authorized JavaScript origins, redirect URIs).
- After creating your credentials, note down the Client ID and Client Secret – you’ll use these in your app’s configuration.
Step 2: Integrate Google Credentials into Your Blazor App
Now that you have your Client ID and Client Secret, integrate them into your Blazor app. Open the appsettings.json file of your server app and add the credentials as follows:
"Authentication": {
  "Google": {
    "ClientId": "xxx-xxxx.apps.googleusercontent.com",
    "ClientSecret": "xxxx-xxxxxxxxnu"
  }
}
Make sure to replace the placeholder values with the actual Client ID and Client Secret you generated earlier.
Step 3: Install the Google Authentication Library
Next, you need to install the necessary library to enable Google authentication. Open the Package Manager Console in Visual Studio and run the following command:
Install-Package Microsoft.AspNetCore.Authentication.Google -Version 8.0.1
This will install the Google authentication dependencies required for your app.
Step 4: Configure Google Authentication in the Program.cs
After installing the package, go to the Program.cs file in your server app and modify it to call the AddGoogle method, passing in your Client ID and Client Secret:
builder.Services
    .AddAuthentication()
    .AddIdentityServerJwt()
    .AddGoogle(options =>
    {
        options.ClientId = builder.Configuration.GetValue<string>("Authentication:Google:ClientId");
        options.ClientSecret = builder.Configuration.GetValue<string>("Authentication:Google:ClientSecret");
    });
This configures Google authentication within your app using the credentials stored in your appsettings.json file.
Step 5: Test the Google Authentication
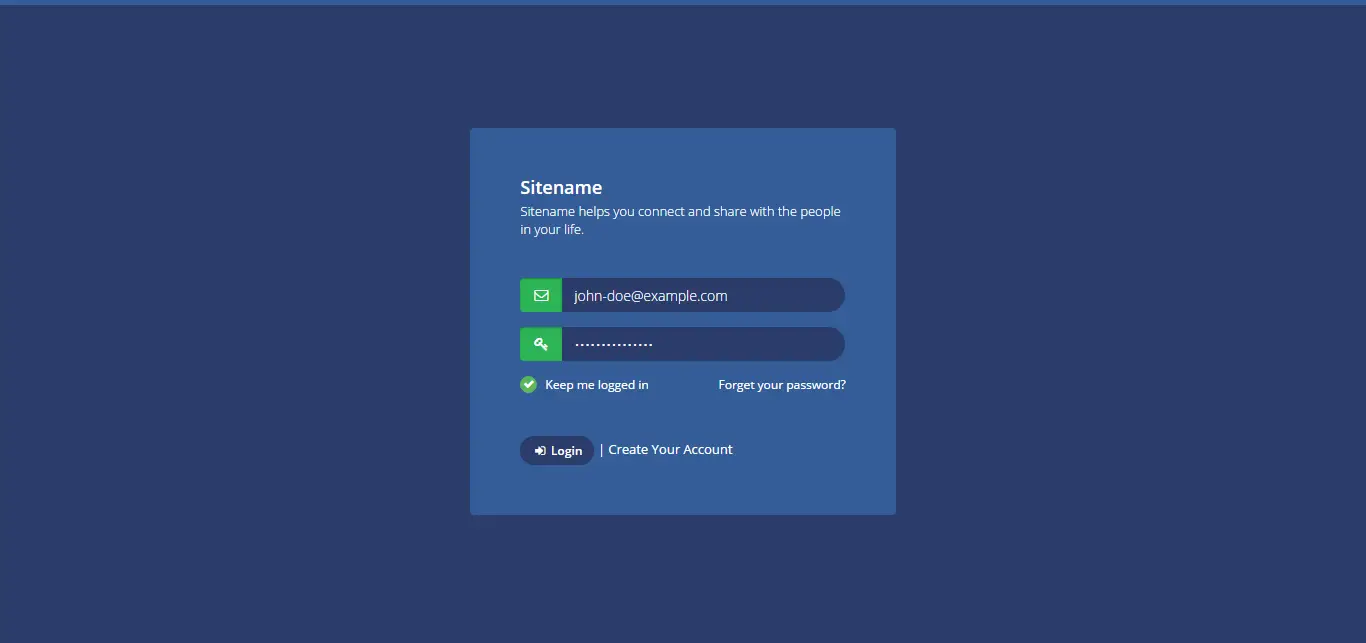
Once everything is configured, run your application. You should now see the Google Login button on the login or registration page. This button is rendered automatically using the Google authentication library, thanks to the RemoteAuthenticatorView component from the Microsoft.AspNetCore.Components.WebAssembly.Authentication package.
Customizing the Login Page
While Blazor WebAssembly provides a default login page using the RemoteAuthenticatorView component, you might want to align the login page with your app’s design. Luckily, Blazor makes it easy to customize the login interface.
Step 1: Scaffold Identity Pages
First, you’ll need to scaffold the identity pages. To do this:
- Right-click on the Areas folder in your server app and select Add > New Scaffolded Item.
- Choose Identity and click Add.
- Select the Account/Login option to customize the login page.
Once the scaffolding is complete, the login page will be imported into your app under Areas/Identity/Pages/Account/Login.cshtml.
Step 2: Customize the Login Page
Now you have full control over the login page. You can modify the layout, design, and even the position of elements. For example, you might decide to move the Google login button to the bottom of the page, as shown in the example below:
<!-- Custom Google Button Position -->
<div class="form-group">
    <button type="submit" class="btn btn-primary">Login</button>
</div>
<div class="form-group">
    <button type="button" class="btn btn-outline-danger" id="google-login-button">
        Login with Google
    </button>
</div>
After making your modifications, run your app again to view your newly customized login page.
- Implement security headers for an ASP.NET Core
- How to add security headers to an ASP.NET Core Application
- How to Initialize TagHelpers in ASP.NET Core with Shared Data
- Boost Your ASP.NET Core Website Performance with .NET Profiler
- The name 'Session' does not exist in the current context
- Implementing Two-Factor Authentication with Google Authenticator in ASP.NET Core
- How to securely reverse-proxy ASP.NET Core
- How to Retrieve Client IP in ASP.NET Core Behind a Reverse Proxy


