ASP.NET MVC Responsive Templates Free Download
By Tan Lee Published on Mar 23, 2024 57.43K
To use free responsive admin templates and themes in an ASP.NET Identity MVC project, you'll generally want to integrate a pre-built admin dashboard template into your project that already works well with responsive design principles.
In this article, we will explore the benefits of using ASP.NET MVC responsive templates, and provide a list of some of the best free templates available for download.
AST.NET Website Templates
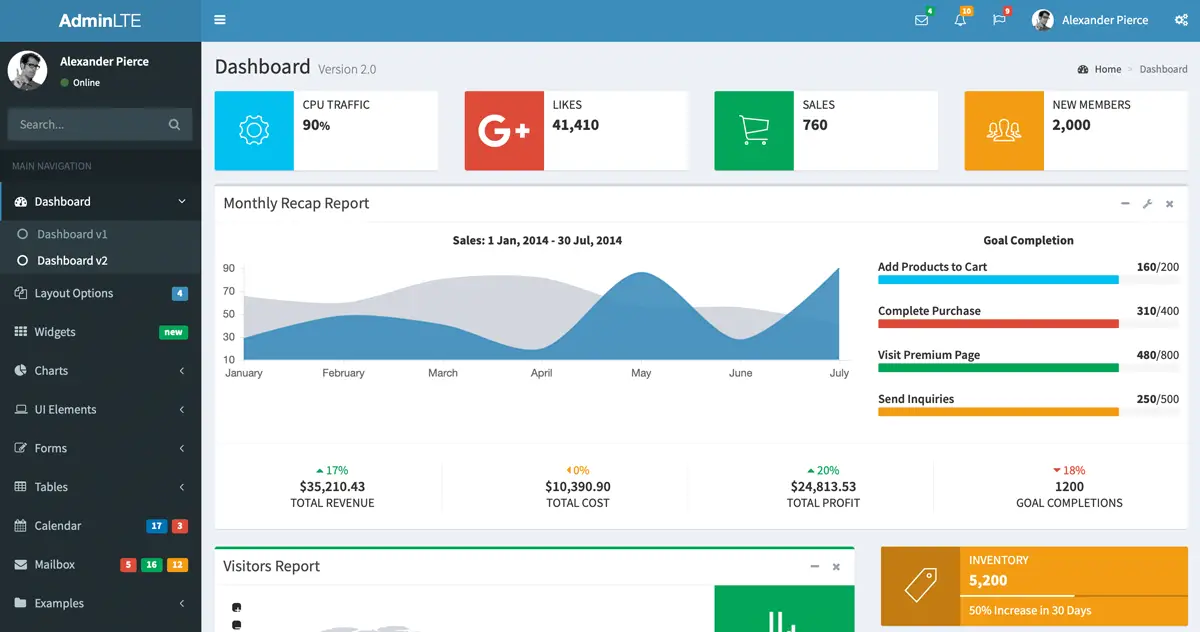
AdminLTE Bootstrap Admin Dashboard Template is a popular open-source admin dashboard template built with Bootstrap. It provides a responsive and customizable interface for building admin panels, control panels, and dashboards for web applications.
AdminLTE comes with a variety of pre-designed components, plugins, and widgets to help developers create sleek and functional user interfaces quickly. It's built on top of Bootstrap and offers a wide range of responsive, reusable, and commonly used components.
The ASP.NET MVC version of AdminLTE, available for asp.net mvc templates free download, comes with various widgets, charts, tables, and other UI elements commonly used in admin panels. It’s a great starting point for building an admin dashboard or management system.
How to download AdminLTE template?
To get started with AdminLTE, you can download the template files at GitHub: free template asp.net mvc download
Key Features:
- Responsive Design: AdminLTE is built on Bootstrap, making it fully responsive and compatible with various devices and screen sizes.
- Customizable: Developers can easily customize AdminLTE's layout, colors, and components to match their application's branding and requirements.
- Pre-designed Components: AdminLTE provides a wide range of UI components such as buttons, forms, tables, charts, and more, saving developers time and effort in designing these elements from scratch.
- Plugins and Widgets: It includes several useful plugins and widgets like calendars, charts (using Chart.js and Flot), data tables (using DataTables), and more.
- Documentation and Support: AdminLTE comes with comprehensive documentation and support, including starter templates, code snippets, and a community forum.
How to custom layout in ASP.NET MVC?
Download the template that you like, typically in a .zip file.
Create a new ASP.NET MVC project.
After downloading, extract the AdminLTE template files into a folder within your ASP.NET MVC project. You might want to place these files in the wwwroot folder.
Copy all CSS, JavaScript, and image files from the template’s directory into appropriate directories in your ASP.NET MVC project. For example, copy the template’s CSS into Content/css and JS into Scripts/js.
To custom layout for ASP.NET MVC project, You can open the _Layout.cshtml file in Views/Shared/ or create a new layout file.
The _Layout.cshtml file as same as MasterPage in ASP.NET WebForm.
Finally, Just copy all the html tags in the index.html file into _Layout.cshml in the View\Shared directory, and don't forget to include the css and js.
At the section that you want to render child component you should use the tag below.
@RenderBody()
This tag will render your child html content in the section you specified.
You can modify the navigation bar or sidebar to display user information like the logged-in user's name.
Update the navigation with ASP.NET Identity’s helper methods, such as:
<li class="nav-item">
    <a class="nav-link" href="@Url.Action("Manage", "Account")">Welcome, @User.Identity.Name</a>
</li>
By following these steps, you’ll integrate a free responsive admin template into your ASP.NET MVC project with Identity.
VIDEO TUTORIAL
- How to upload file in ASP.NET MVC
- How to Create Contact Form Flat Responsive in ASP.NET MVC
- How to check if HttpPostedFileBase is an image
- How to upload Multiple File in ASP.NET MVC
- ASP.NET MVC: Implement Password Reset with ASP NET Identity
- ASP.NET MVC: Getting Started
- ASP.NET MVC: Create Custom Routes
- ASP.NET MVC: Create Login Form
Categories
Popular Posts


Material Lite Admin Template
Nov 14, 2024

Modular Admin Template
Nov 14, 2024

Admin BSB Free Bootstrap Admin Dashboard
Nov 14, 2024

AdminKit Bootstrap 5 HTML5 UI Kits Template
Nov 17, 2024