How to use Aero Wizard in C#
By Tan Lee Published on Mar 18, 2024 11.36K
The Aero Wizard control in C# Windows Forms applications provides an easy way to create wizard-like interfaces where users can navigate through a series of steps.
How to use Aero Wizard control in C#
The Aero Wizard control is a component that allows you to create wizard-like interfaces with modern Aero-style (Windows Vista and later) UI. You can use Aero Wizard control to guide users through a series of steps in an intuitive manner or make your form work step by step, similarly the setup form.
First, ensure that you have the AeroWizard NuGet package installed in your project. You can install it using the NuGet Package Manager Console with the following command:
Install-Package AeroWizard
Or you can right click on your project, then select Manage NuGet Packages -> Search AeroWizard -> Install
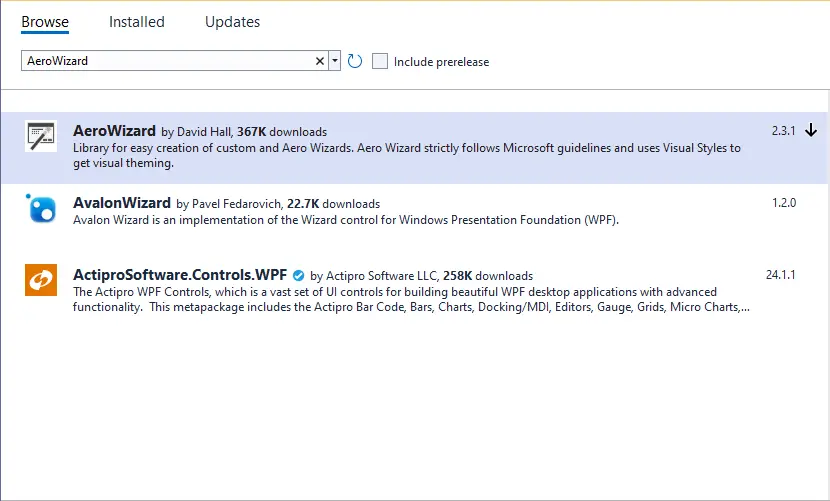
Once you have the package installed, you can use the AeroWizard control in your Windows Forms application.
Wizard .NET Library
This library makes it easy to create custom Aero Wizards. It strictly follows Microsoft guidelines and uses Visual Styles to get visual theming.
Aero Wizard project provides three main controls:
WizardPageContainer - Allows you to create a custom wizard. It manages page creation at design-time and navigation using user defined buttons.
WizardControl - Builds on the container to provide the full Aero Wizard experience. The wizard visual format pulls from the current system theme. As a result, this wizard will correctly morph on each OS. Under XP, it will provide a old, pre-Aero, look and feel. Under Vista, Win7 and Win8, it will take on the appearance defined by the OS.
StepWizardControl - Extends WizardControl to include a step list that indicates current position through the flow.
Rebuild your project, start by adding the AeroWizard control to your form. You can easily do this either through the Visual Studio designer or by adding it programmatically.
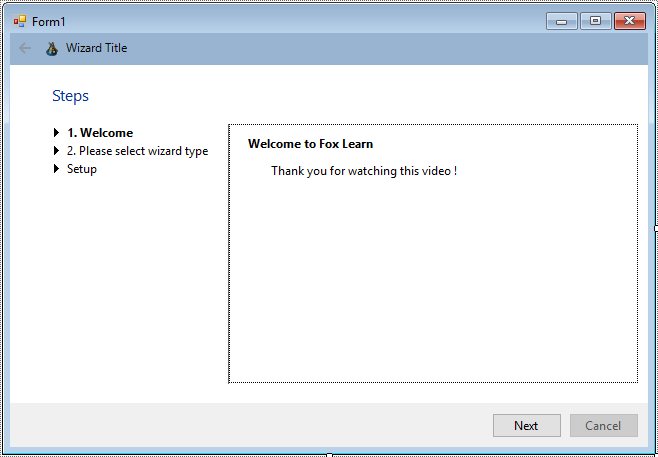
After adding the control to your form, you can customize it by adding wizard pages. Each wizard page represents a step in the wizard. You can add pages either through the designer or programmatically.
Handle the events of the wizard control to perform actions when the user navigates through the wizard. For example, you might want to validate input or perform certain actions when the user moves to the next or previous page.
In this example, I'm dragging a progress bar control from the Visual Studio toolbox into the wizard control, then add code to handle your form.
private void stepWizardControl1_SelectedPageChanged(object sender, EventArgs e)
{
    //Select page3, show progress bar
    if (stepWizardControl1.SelectedPage == wizardPage3)
    {
        for (int i = 1; i <= 100; i++)
        {
            progressBar1.Value = i;
            progressBar1.Update();
            Thread.Sleep(10);
        }
    }
}
Next, Click on Wizard control, then add the SelectedPageChanged event handler, you can easily check the wizard page step.
VIDEO TUTORIAL
Categories
Popular Posts

Structured Data using FoxLearn.JsonLd
Jun 20, 2025

Implement security headers for an ASP.NET Core
Jun 24, 2025

10 Common Mistakes ASP.NET Developers Should Avoid
Dec 16, 2024

Modular Admin Template
Nov 14, 2024

SB Admin Template
Nov 14, 2024