How to Install Dotfuscator Community
By Tan Lee Published on Mar 15, 2024 3.44K
This post shows you How to Install Dotfuscator Community in Visual Studio.
Dotfuscator is a software tool used for obfuscating and protecting .NET applications. It's primarily designed to prevent reverse engineering of .NET applications by making the code more difficult to understand and decompile.
Here are some key features and functions of Dotfuscator:
Code Obfuscation: Dotfuscator renames classes, methods, and variables to obscure their original names, making it harder for attackers to understand the logic of the application by inspecting the compiled code.
String Encryption: Dotfuscator can encrypt string literals in the code, making it more difficult for attackers to extract sensitive information embedded within the application.
Control Flow Obfuscation: This feature modifies the control flow of the application, making it harder to follow the execution logic of the program.
Tamper Detection: Dotfuscator can inject code into the application that detects if it has been tampered with or modified, helping to protect against unauthorized changes.
Analytics Integration: Dotfuscator can integrate with application analytics tools to provide insights into how the application is being used while still protecting sensitive information.
Integration with Build Process: Dotfuscator can be integrated into the build process of Visual Studio, allowing for automated obfuscation of applications during the build pipeline.
Compatibility: Dotfuscator supports various .NET platforms, including desktop, web, and mobile applications, and it works with multiple versions of the .NET Framework and .NET Core.
How to Install Dotfuscator Community in Visual Studio
You can use the Visual Studio Installer to install the Dotfuscator Community
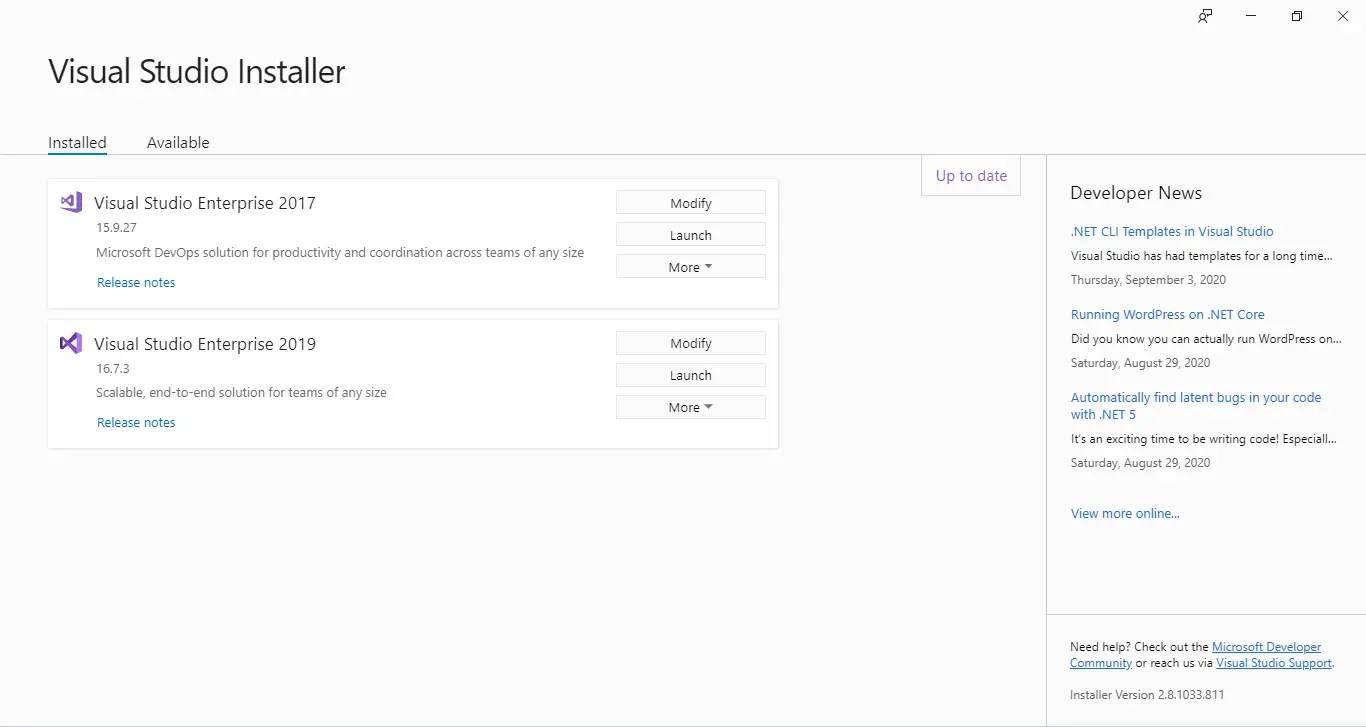
Clicking the Modify button of the Visual Studio version you want to install.
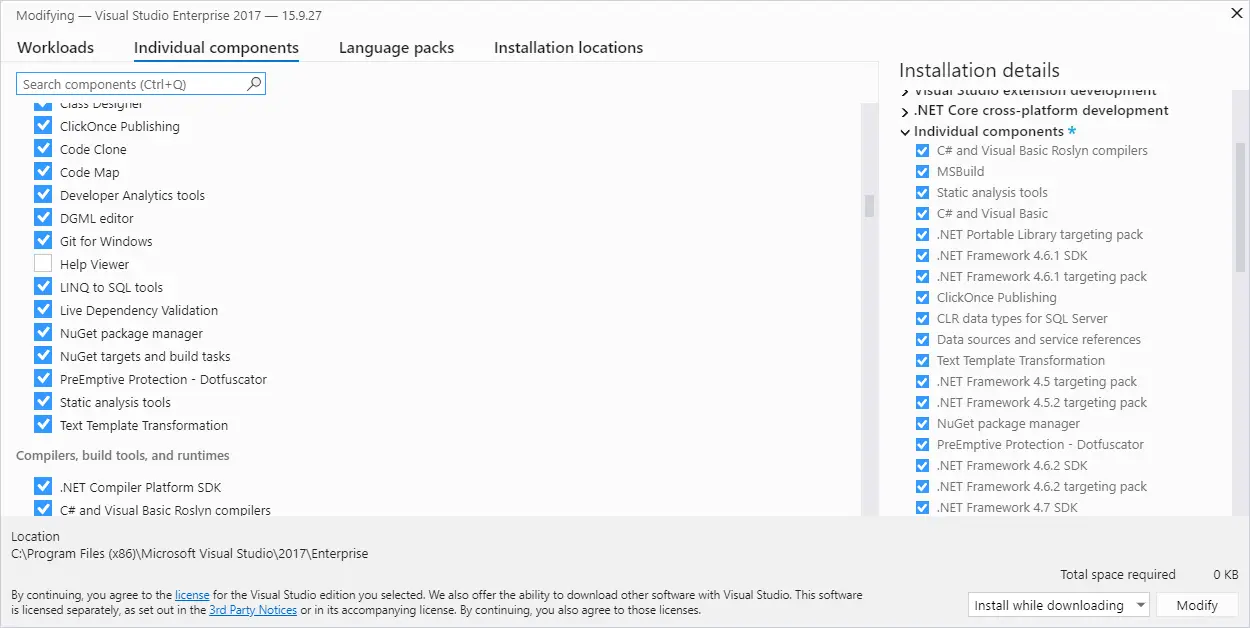
Selecting Individual components =>PreEmptive Protection - Dotfucattor. After completing the installation, you can find Dotfuscator in the Tools menu of Visual Studio.
Another way to install Dotfuscator Community Edition in Visual Studio, you can follow these steps:
Download Dotfuscator Community Edition: Go to the Dotfuscator Community Edition, then you can also get the latest version of Dotfuscator Community from Dotfuscator Community Edition.
Run the Installer: Once the download is complete, run the installer. Follow the on-screen instructions to proceed with the installation.
Launch Visual Studio: Open Visual Studio, either an existing project or a new one.
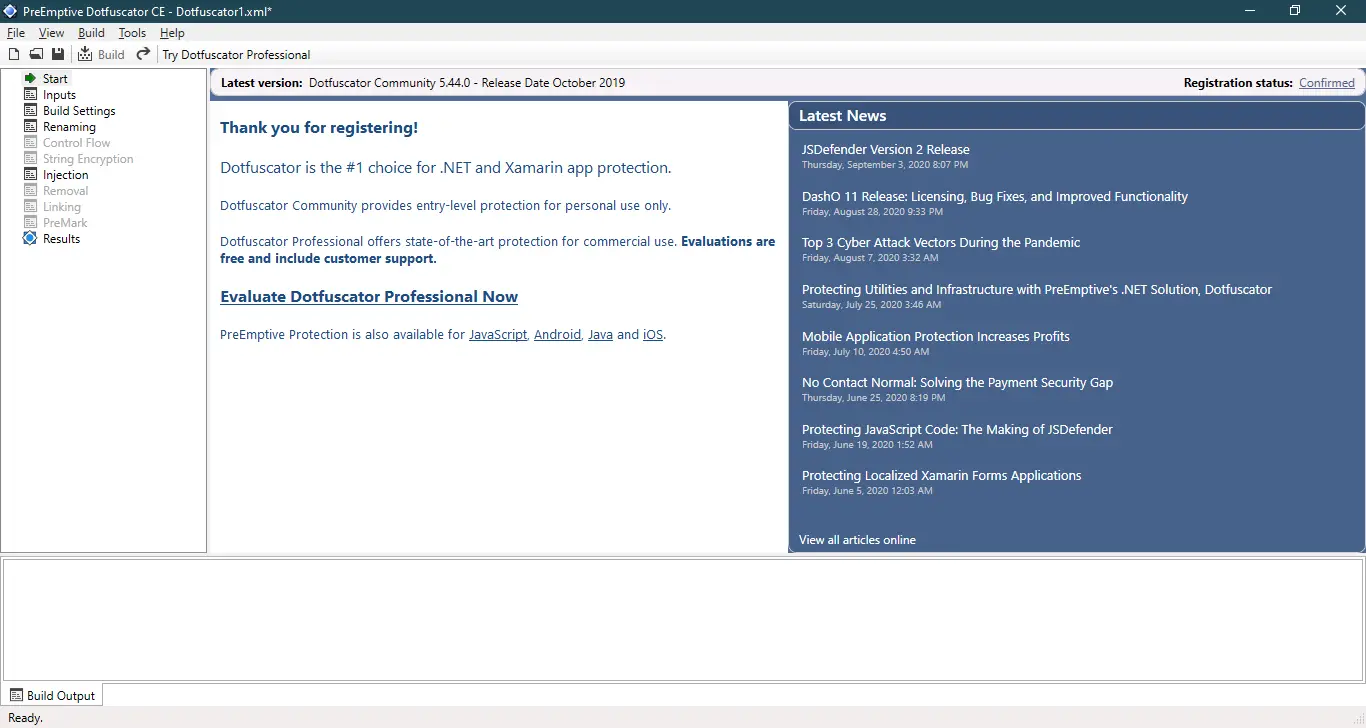
Access Dotfuscator from Visual Studio: After installation, Dotfuscator should integrate into Visual Studio automatically. Navigate to the menu bar in Visual Studio > Tools > Dotfuscator Community Edition.
Configure Dotfuscator: Once you access Dotfuscator from Visual Studio, you'll be able to configure it according to your requirements. You can set up rules for obfuscation and specify which parts of your code you want to protect.
Apply Obfuscation: After configuring Dotfuscator, apply obfuscation to your project. This process will modify your code to make it more difficult to reverse engineer.
Testing and Building: Make sure to thoroughly test your application after applying obfuscation to ensure that it still functions as expected. If everything looks good, proceed with building your application.
Categories
Popular Posts


Freedash bootstrap lite
Nov 13, 2024

10 Common Mistakes ASP.NET Developers Should Avoid
Dec 16, 2024

Gentella Admin Template
Nov 14, 2024
