How to use a Custom control in C#
By Tan Lee Published on Jul 25, 2017 5.96K
Creating a custom picture box with scrollbars in C# involves deriving a new control from Control and implementing the necessary functionality to handle scrolling.
Open your Visual Studio and click New Project, then select Visual C# on the left, then Windows and then select Windows Forms Application. Name your project "CustomControl" and then click OK.
Create a custom control, then set up the basic structure and add the necessary fields for handling the image and scrollbars.
using System;
using System.Collections.Generic;
using System.ComponentModel;
using System.Data;
using System.Drawing;
using System.Linq;
using System.Text;
using System.Threading.Tasks;
using System.Windows.Forms;

namespace CustomControl
{
    public partial class MyPictureBox : Panel
    {
        PictureBox pictureBox;
        public MyPictureBox()
        {
            InitializeComponent();
            pictureBox = new PictureBox();
            this.Controls.Add(pictureBox);
        }

        [Category("Custom")]
        [Browsable(true)]
        [Description("Set path to image file")]
        [Editor(typeof(System.Windows.Forms.Design.WindowsFormsComponentEditor),typeof(System.Drawing.Design.UITypeEditor))]
        public string ImageFile
        {
            set
            {
                //Set image to picture box
                Image img = Image.FromFile(value);
                pictureBox.Image = img;
                pictureBox.Size = img.Size;
            }
        }

        protected override void OnPaint(PaintEventArgs pe)
        {
            base.OnPaint(pe);
        }
    }
}
Open your main form, then drag the MyPictureBox onto the form from the toolbox or instantiate it programmatically.
You can design your form as shown below.
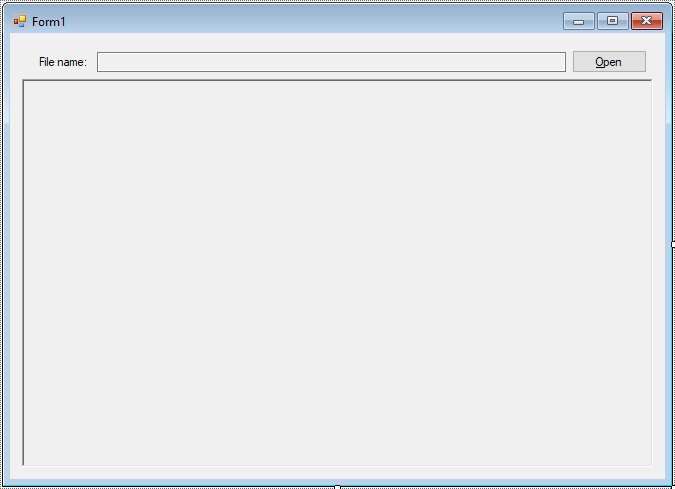
Add a click event handler to the "Open" button that allows you to select an image and display it in the custom scrollable picture box as shown below.
using System;
using System.Collections.Generic;
using System.ComponentModel;
using System.Data;
using System.Drawing;
using System.Linq;
using System.Text;
using System.Threading.Tasks;
using System.Windows.Forms;

namespace CustomControl
{
    public partial class Form1 : Form
    {
        public Form1()
        {
            InitializeComponent();
        }

        private void btnOpen_Click(object sender, EventArgs e)
        {
            using(OpenFileDialog ofd=new OpenFileDialog() { Multiselect = false, ValidateNames = true, Filter = "JPEG|*.jpg" })
            {
                if (ofd.ShowDialog() == DialogResult.OK)
                {
                    txtFileName.Text = ofd.FileName;
                    myPictureBox1.ImageFile = ofd.FileName;
                }
            }
        }
    }
}
In the click event for the "Open" button, open the dialog and check if the user selects a file.
If a file is selected, load the image and set it to the Picture property of your MyPictureBox control.
Run your application. You should see the image displayed in the custom picture box, and the scrollbars should allow you to scroll through the image when it exceeds the control's bounds.
VIDEO TUTORIAL
Categories
Popular Posts

Structured Data using FoxLearn.JsonLd
Jun 20, 2025


RuangAdmin Template
Nov 13, 2024

Portal HTML Bootstrap
Nov 13, 2024