How to Make a File Browser in C#
By Tan Lee Published on Jul 16, 2024 33.98K
To create a file browser using a ListView control in a C# Windows Forms Application and extract the icon associated with each file, you can follow these steps.
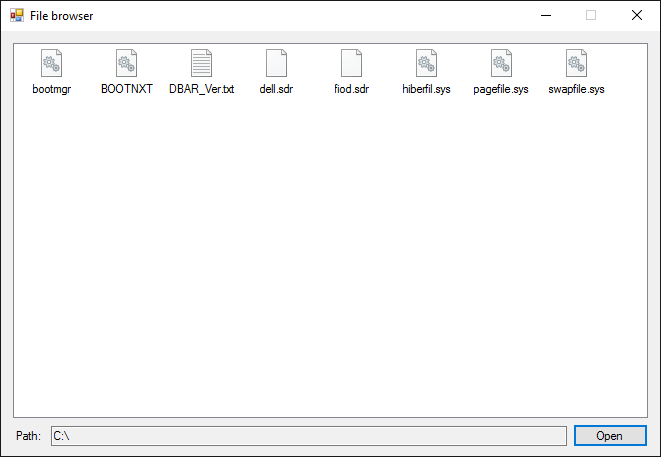
How to Make a File Browser in C#
The file browser lets you browse to files on your computer, this simple file browser application like Windows Explorer uses the ListView control to display all file names based on the path you have selected.
ListView control is a window that displays a collection of items. The ListView controls provide several ways to arrange and display items and are much more flexible than simple ListBox control.
Through this c# example, you will learn how to use a ListView control. As well as, how to create a simple File Browser application that allows you to access files including icons in your hard disk, then display the files on the ListView control.
To play the demo, we will create a new Windows Forms Application project, then open your form designer.
Next, drag and drop the ListView, TextBox, Label, and Button controls from the Visual Studio Toolbox to your WinForm. Then, arrange your File Browser form as shown below.
C# File Browser
After completing the file browser design, we will add code to handle your File Browser Application
You should create a list of data types as strings to contain the file name when you select the file from OpenFileDialog
List<string> listFiles = new List<string>();
then add the click event handler to the Open button as the following c# code.
// file c# explorer browser
private void btnOpen_Click(object sender, EventArgs e)
{
    // Clear all items
    listFiles.Clear();
    listView.Items.Clear();
    // Open folder browser dialog c# browse file
    using (FolderBrowserDialog fbd = new FolderBrowserDialog() { Description = "Select your path." })
    {
        if (fbd.ShowDialog() == DialogResult.OK)
        {
            // Set path to textbox
            txtPath.Text = fbd.SelectedPath;
            foreach (string item in Directory.GetFiles(fbd.SelectedPath))
            {
                // Add image to imagelist
                imageList.Images.Add(System.Drawing.Icon.ExtractAssociatedIcon(item));
                FileInfo fi = new FileInfo(item);
                listFiles.Add(fi.FullName);//Add file name to list
                // Add file name and image to listview
                listView.Items.Add(fi.Name, imageList.Images.Count - 1);
            }
        }
    }
}
We will use folder browser dialog c# to help you select the path you want to get files, then get an extract associated icon corresponding to each file and add it into an ImageList control. If you want to get an image from the ImageList control, you just need to get the index.
You can use the Icon.ExtractAssociatedIcon method to returns an icon representation of an image that is contained in the specified file.
When ExtractAssociatedIcon is used with bitmaps, a thumbnail image may be returned instead of an icon if the system that is running the application has a registry setting that causes bitmap files to be shown as thumbnail images.
Click on the ListView control, then click on the SelectedIndexChanged event. Next, add your code as shown below to handle open files
// c# file browser - open selected file
private void listView_SelectedIndexChanged(object sender, EventArgs e)
{
    if (listView.FocusedItem != null)
        Process.Start(listFiles[listView.FocusedItem.Index]); //Open process
}
You should check FocusedItem of your listview before calling the Start method. If FocusedItem is NULL we will skip it.
The Process.Start method allows you to start a process resource and associates it with a process component.
VIDEO TUTORIAL
Categories
Popular Posts

Structured Data using FoxLearn.JsonLd
Jun 20, 2025


tsParticles Authentication Template
Nov 11, 2024

Material Dashboard Admin Template
Nov 17, 2024